STEP I: Parking the car on Level ground & securing it.
First make sure that you have parked the car by the side of the road on
level ground (this is very important).
You may keep the car in gear and also can put it in handbrake mode.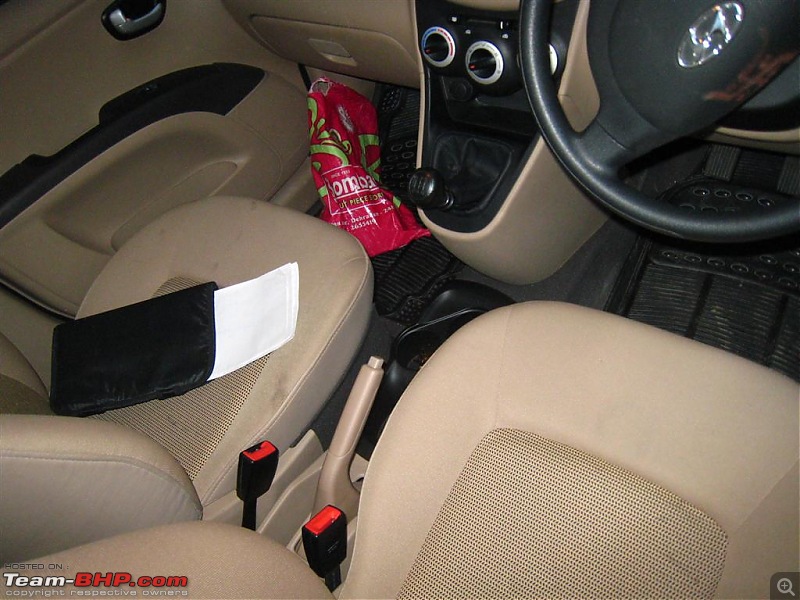
Here are the tools you need for this task: (L to R) Wheel Spanner, Jack Handle, Jack.
STEP II: Loosening the Wheel Nuts.
First step in any wheel removal is to loosen the wheel nuts.
This has to be done before we position the Jack to raise the car. You do not under any circumstances raise the car first & loosen the wheel nuts later.
So you attach the Wheel Spanner & loosen the wheel nut slightly but not completely. We just need it to be slightly loose not completely removed. To loosen the nut, move the spanner anti-clockwise. If need be, stand on the spanner to exert full force as sometimes the tyre shop chaps can over tighten them using their air guns.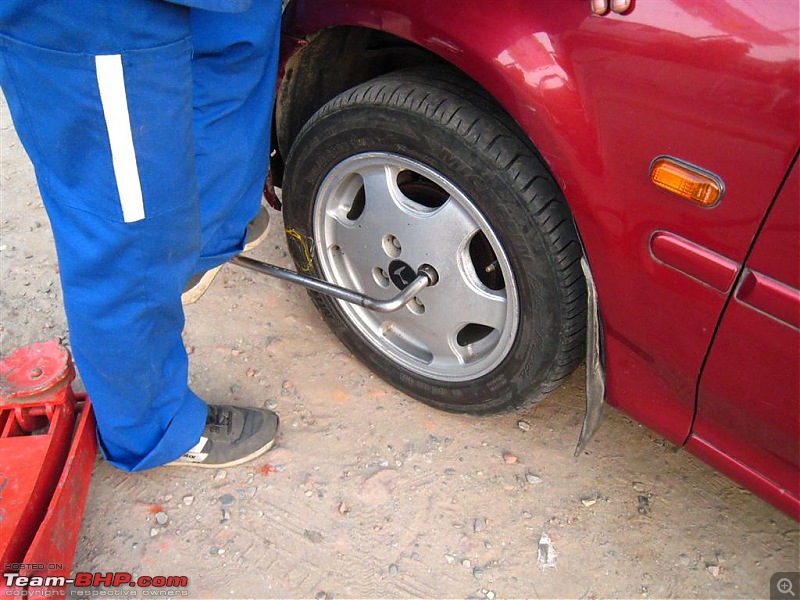
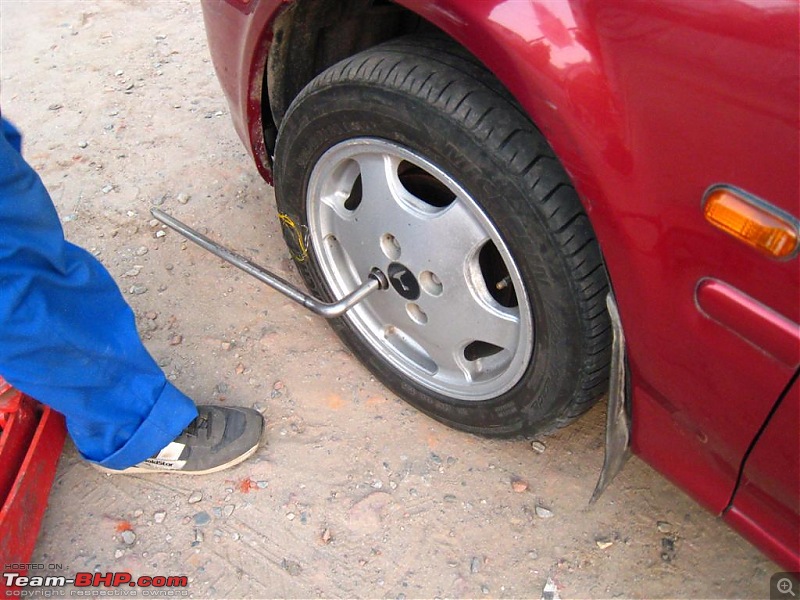
Also, always remember that whenever you loosen/tighten a wheel, the nuts have to loosened/tightened in a diagonal fashion. You always work on the wheel nut opposite to the one you were working on never on the one next to it, like this:
 STEP III:
 Jacking up the car.
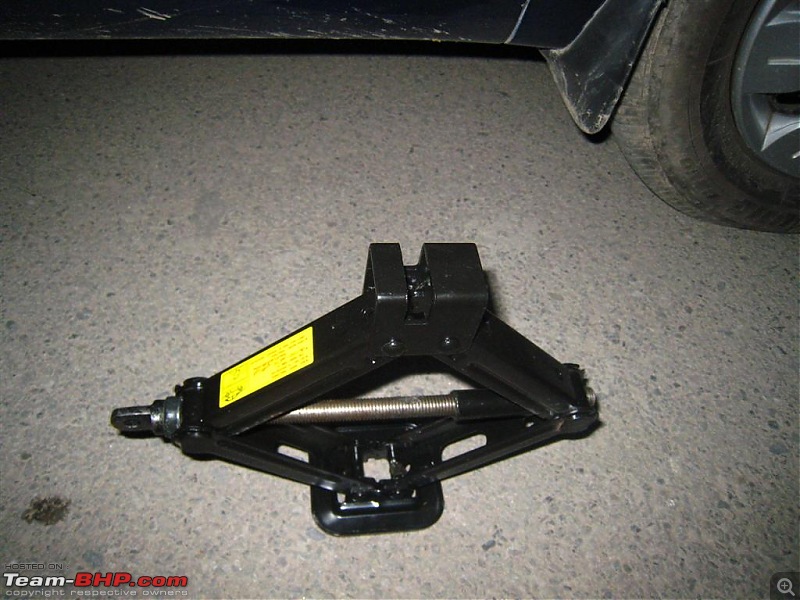
Here is what the top of the Jack looks like. As you can see it has a slit in between & that is for a specific purpose which is explained below:
 Unlike old cars where we had to position the Jack on a point of the Chassis/Suspension etc. to raise the vehicle the newer vehicles come with specific strengthened sections on the side sills which enable them to be used specifically for jacking up a vehicle to change the tyre(s). These strengthened locations are marked (like shown in the pic below) to enable easy location for positioning the jack.
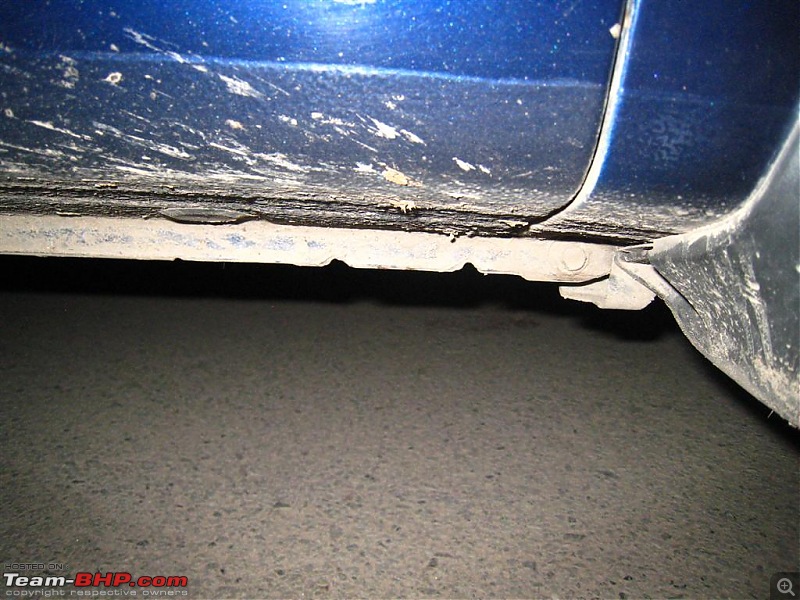 Now when we see under the front door (We'll see an area with two triangular sections cut away from the sill. We have to position the jack in the middle of these two marks and raise it so that it fits with the sill. Also, the slit in between has to positioned so that the sill goes into the slit. Like this:
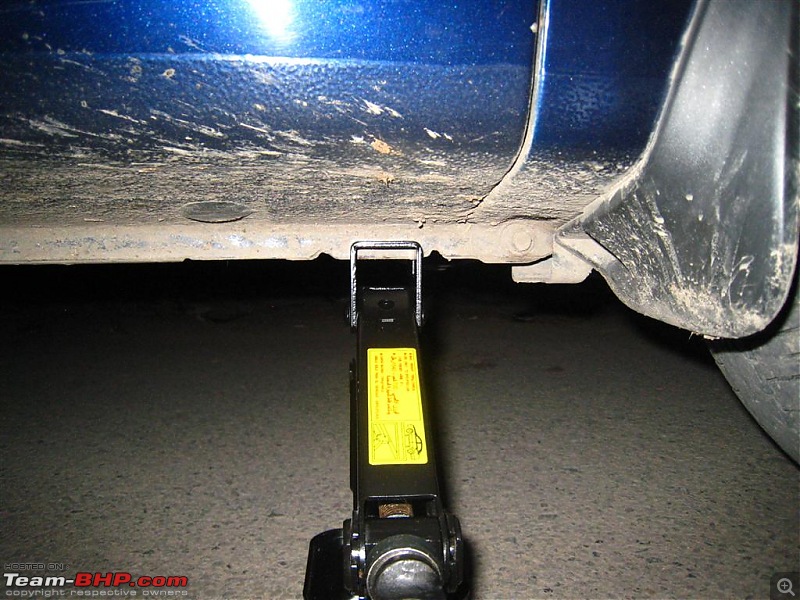
Now, attach the Jack handle to the Jack & also attach the wheel spanner to the handle to elongate the handle for better grip. Spanners with holes in them for attaching the Jack handle in them are a feature in most new cars. In case your car's spanner does not feature such a hole, just use the Jack handle only. Turn the handle clockwise to raise the car up:
Now the car is raised:

No comments:
Post a Comment